
Ready to Actually Make Your Own Incense?
Okay, so you’ve been burning incense for a while. Maybe you’ve tried a bunch of different types. You’ve read about the history, the philosophy, the different scent families. And now you’re thinking: I wanna make my own.
Cool. But before you grab every aromatic material you can find and start mixing, let me tell you how to actually start. The right way.
Making incense is a craft. It takes time to learn. And the beginners phase is where most people either get hooked or get frustrated and quit.
Start With Understanding, Not Ingredients

Here’s what most beginners do wrong: they buy a bunch of materials first, then try to figure out what to do with them.
Don’t do that.
Instead, start by understanding the basics:
- How does incense actually work? What makes something burn and smell right?
- What are the different types of materials – woods, resins, herbs, flowers?
- How do these materials behave when burned? Alone and together?
- What’s the difference between good and bad materials?
You can learn all this before spending a single dollar on materials. And it’ll save you a lot of wasted money and frustration.
Your First Project: Simple is Best
For your first attempt, forget complex formulas. Forget rare materials. Forget impressive results.
Your goal: just make something that burns and smells okay.
Here’s what I suggest:
Get one good wood as your base.
Sandalwood is classic. It’s reliable, smells good, and you can find it without spending a fortune. Get it in small pieces or chunks, not pre-ground. You’re going to grind it yourself anyway.
Add one supporting ingredient.
Maybe a small amount of something complementary. A hint of something warmer, or sharper, or sweeter. Keep it simple.
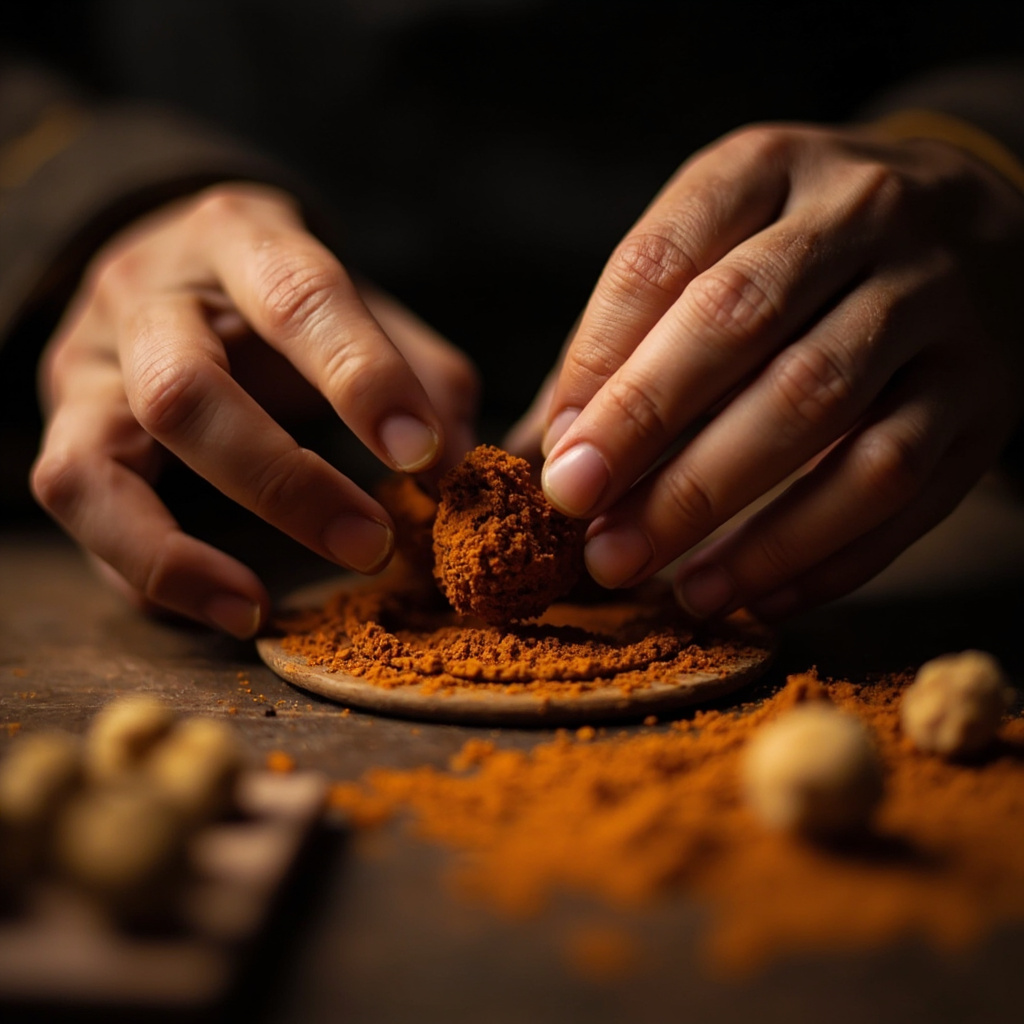
Make a test batch of like 5 grams total.
Not 100 grams. Not 50 grams. Five. Because it’s probably going to suck, and you don’t wanna waste materials on your first tries.
The Basic Process (Very Simplified)
Here’s the general flow for making incense:
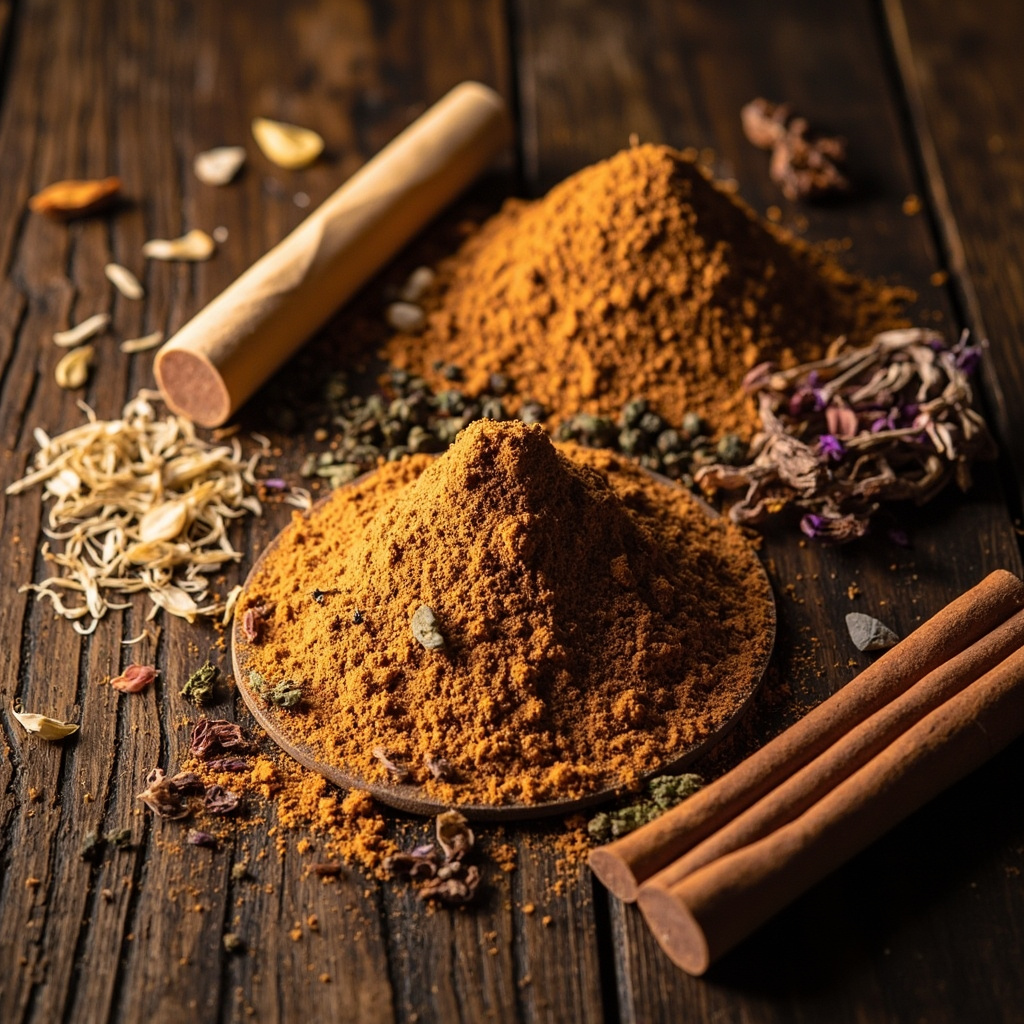
- Get your materials – Start with quality ingredients you understand
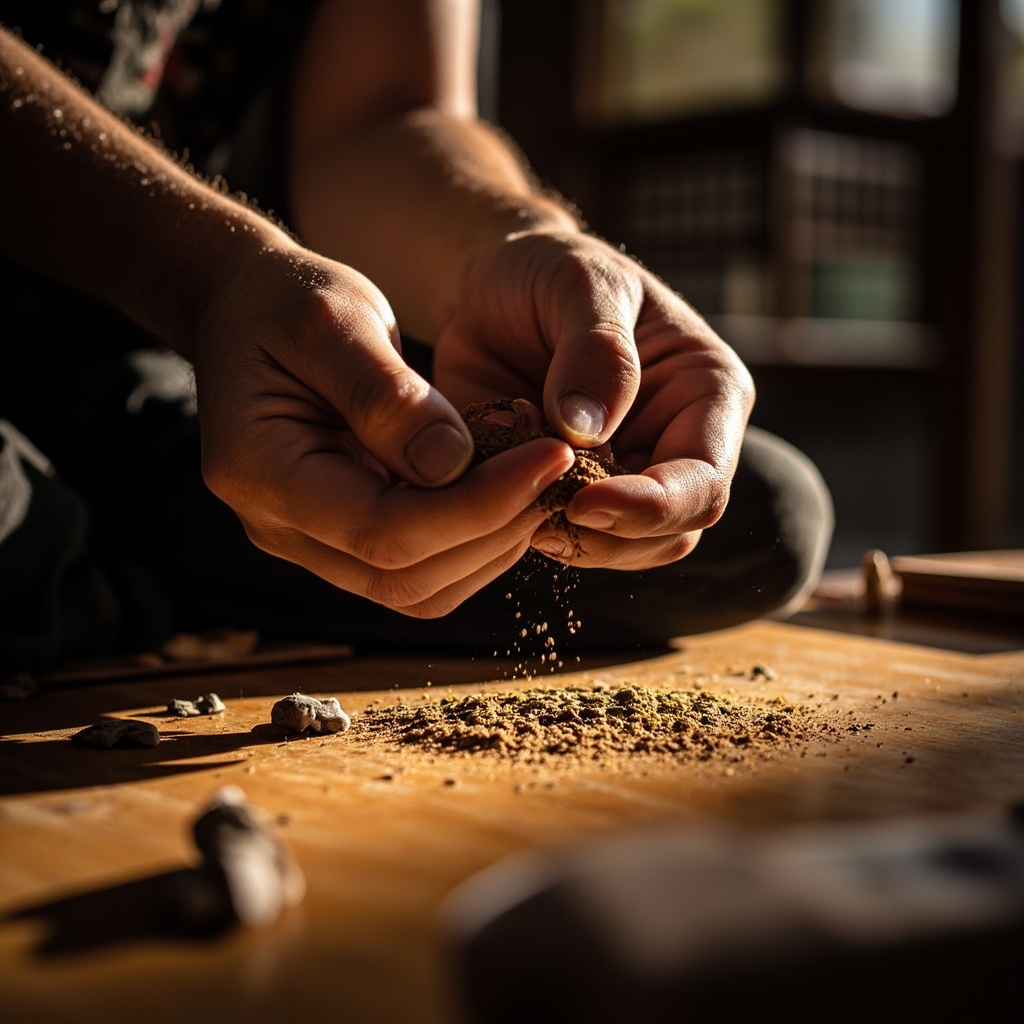
- Process each material – Dry, grind, sift – each needs different treatment
- Weigh everything – Precision matters, especially when starting
- Mix thoroughly – Get an even distribution
- Add binder if needed – Some recipes need water or other binding agents
- Form your shape – Stick, pellet, cone, whatever
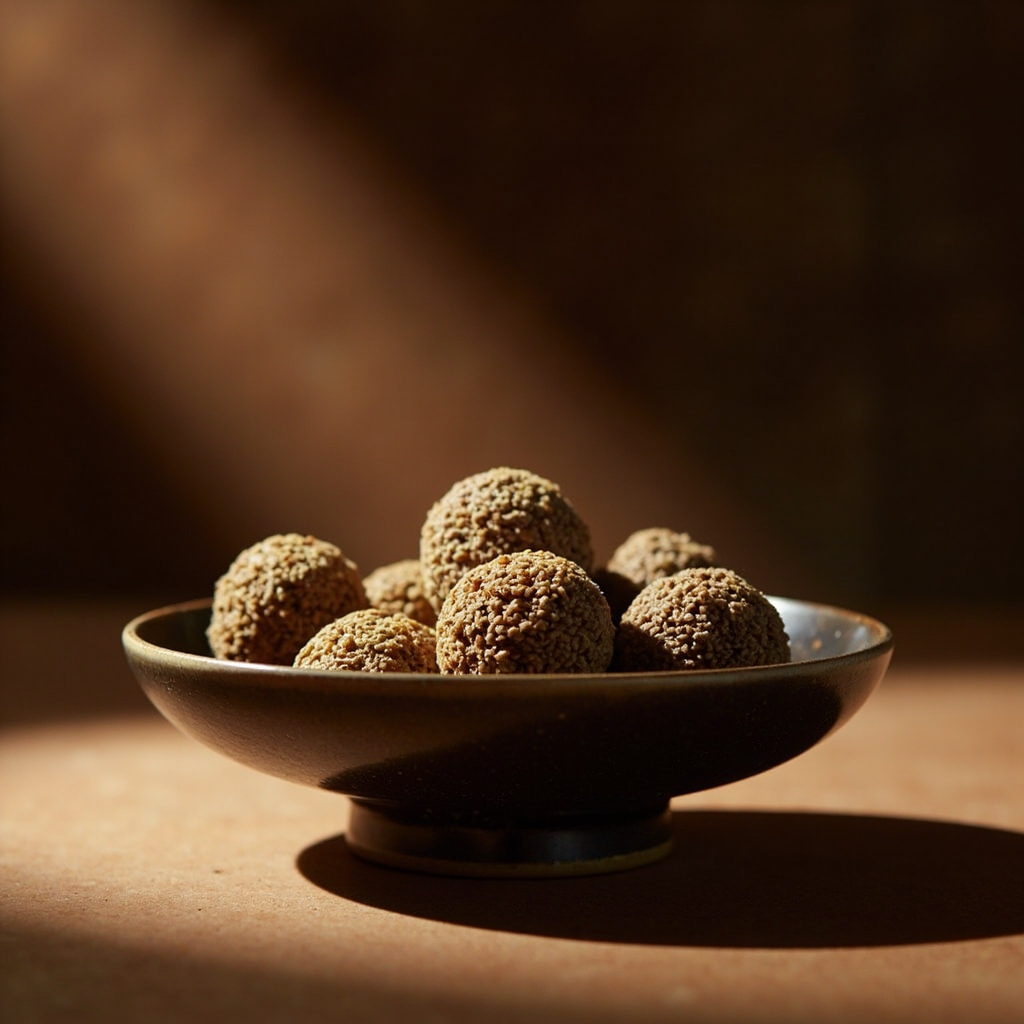
- Dry properly – This step is crucial, don’t rush it
- Age if possible – Fresh incense rarely smells as good as aged
We’re talking probably 2-3 days from start to usable product. Maybe longer if you age it.
What to Actually Buy First
Here’s a practical shopping list for your first attempt:
Materials:
- 50-100g good sandalwood (or whatever wood you choose)
- One complementary ingredient – maybe 10-20g (dried flowers, a resin, a spice)
- Something as binder – plain water usually works for basic sticks
Equipment:
- A small grinder – mortar and pestle works, or a dedicated herb grinder
- A fine sieve or screen
- A small digital scale – 0.1g accuracy minimum
- Something to dry your incense on – a plate, a board, something flat
- Basic holder for testing burns
That’s it. Don’t buy more until you’ve used this and learned from it.
The Mindset That Makes the Difference
Here’s the thing most people don’t tell you: your first several attempts are probably gonna be mediocre. Maybe bad.
That’s normal. That’s fine. That’s literally how everyone learns.
The makers of classic formulas? They failed for years. Multiple iterations. Adjustments. What they left us are formulas that took them lifetimes to perfect.
So when your first batch smells weird or doesn’t burn right, don’t get discouraged. Get curious. Figure out why. Adjust. Try again.
The incense masters of old didn’t have YouTube tutorials or forums to ask. They had observation, patience, and persistence. channel that energy.
Learning Resources to Use
Before, during, and after trying:
- Traditional formulas – Follow them exactly first. Learn why they work.
- Online communities – Real practitioners sharing real experiences
- Books – Classical texts if you can find them translated
- Practice journals – Keep notes on everything you do
Don’t trust everything you read. Trust your nose and your experience. But do build on the knowledge of those who came before you.
When to Know You’re Ready to Progress
You’re ready to move beyond simple one-wood incense when:
- You can consistently make something that burns properly
- You can identify what’s working and what’s not in your blends
- You understand why the ingredients you’re using behave the way they do
- You’ve made at least 3-5 test batches and learned from each
Then – and only then – start experimenting with more complex formulas. Add more ingredients. Try different ratios. Start developing your own recipes.
The Bottom Line
Getting into incense making? It’s a journey. Not a quick weekend project.
Start simple. Be patient. Keep learning. Don’t expect miracles on day one.
But if you stick with it – if you keep trying and adjusting and learning – eventually you’ll make something that just hits different. Something that makes you stop and appreciate what you created.
That’s the goal. That’s why we do this.
Frequently Asked Questions
How much does it cost to get started?
You can start with quality materials for maybe $30-50. Don’t go nuts buying rare ingredients. Get the basics right first, then invest in better materials as you learn.
Do I need expensive equipment?
No. A mortar and pestle, a sieve, and a good scale are basically it when starting. You don’t need specialized incense-making tools until you’re more advanced.
How long until I make something good?
Depends on how much you practice and how quickly you learn. Most people see real improvement after 5-10 attempts. But “good” is relative – you’ll be learning for years.
Can I skip the aging step?
You can, but your incense won’t be at its best. Aging allows the materials to meld and mature. If you’re impatient (like me), try making small batches so you’re not waiting as long.
What if my first batch is terrible?
Then you’re exactly where you’re supposed to be. Keep notes on what you did, think about what might have gone wrong, adjust your approach, and try again. That’s the process.